Saturday, December 19, 2009

Baby It's Cold Outside

Warning: To any one working on anything outside. Do Not listen to the Christmas song: Baby it's cold outside. You will feel 10x times colder and numb.

So I finished marking and cutting out the remaining pieces for the shield.
Photobucket
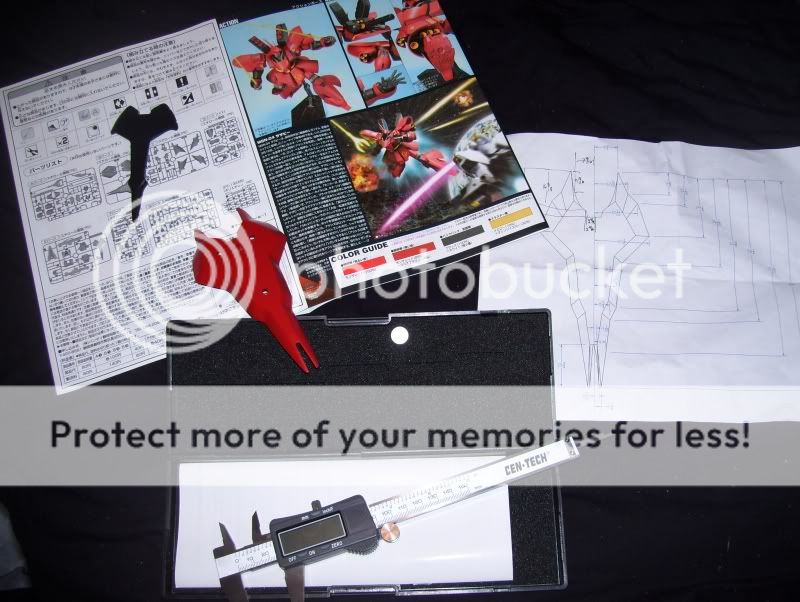
After that was done I need to strength the foam with a hard covering. I'm using "high impact plastic polystyrene" from US Plastics. It's about the cheapest place any where your going to get it. Here is a picture of the patterns laid out.
Photobucket
This keeps the foam board more stiff and helps the foam surface from getting marred. It also allows me to spray paint the surface too. I used two glues for this. I laid down some tacky craft glue (Or any elastic bonding glue that doesn't melt foam) and then applied the spray glue. Now you have only about 3 secs before hot glue hardens and the spray glue only gives you a bit more. (about 15 secs) So you have to work quickly. I sprayed both the plastic and the foam and then press them together. Then I quickly flip the piece so that the plastic side is facing down and put some weights on it.
Photobucket
After about 15mins curing time. (I was working in a cold garage) I picked up the weights and then taped the edges with some masking tape to act like clamps. I then placed these in our basement next to our furnace. And placed the weights back on them. Let these set for the entire recommended curing time.
Back outside I started cutting foam blocks to the correct thickness of the shield and the same for some scrape foam board. It doesn't have to be symmetrical or pretty. You will never see this stuff and it's only purpose is to provide inner bracing and support for large pieces. (Such as the shield)
Photobucket
This is as far as I got this week. Next time I will be joining on the pieces together and sanding and applying Bondo to the edges. I was wanting to do that this weekend but my place got some wintry weather! =D
Photobucket
Though, not a mech, I did manage to find Nessie out in yard.
Photobucket

Wednesday, December 9, 2009

Bondo Smells Good

Well, the board has approved and the factory personnel have initiated construction.

I started off by measuring the model with a digital caliper. I'm only doing one piece as I go. Starting with the shield as it looked like the easiest and a good evaluating piece for scale. I'm drawing everything up in 3d in AutoCad. Then I break up the model in flat panels and dimension them. Its a bit tedious but I don't mind. (I'm an engineer after all.)


For the actual construction I am using DOW's polystyrene foam that you pick up from a home improvement store like Lowes or Home Depot. It usually comes in the colors pink or blue. (Mines blue) To adjoin the pieces together I'm using 3M spray glue. Make sure its the one that has acetone as the major ingredient. The other products will dissolve the foam. For edge seam construction I'm just using a low temp glue gun. Now the foam is pretty stiff but if press hard still can mar pretty easy. So I had to cover it with something really stiff and thin (and cheap). US plastics has a great product called "High Impact Styrene Sheet" It's actually just really thin ABS plastic. It comes in many thicknesses so I chose the .030". That's a little less than 1/32". This will stiffen the foam board and make it much more dent resistant. It also allows me to use spray paint for the coloring as directly spraying on the foam would melt it.

This is a big project, and so it takes up a lot of room. Room I don't have in my tiny place. So the construction site is my driveway out in the elements.


I have a large folding table I set the foam on and as you can see have begun marking out the profile of the base of the shield with a Sharpie. The Minwax cans are just weights. I basically drew the center line and marked all the corners (Be sure to keep squared!) and then played connect the dots.

I'm sure there are tons of ways to cut this stuff, but I think a fine toothed saw is best. (Don't use a carpenters knife its too thick) I used a steel hacksaw. It worked wondrously.


Now there are a lot of smooth corners in this model and I can get close by sanding or filing the foam down, but to get a really nice surface I needed something. So I decided to get a quart of Bondo. I thought about using DryWall spackle but figured it would have a tendency to crack with me moving in the suit. I've never worked with Bondo before but knew the concepts from some gearhead buddies of mine. I just tested a fillet weld or corner joint to get the "feel" of how the stuff would work. Its pretty soupy for a few minutes then gets pretty tacky and stiff. It sure does smell good too. Ahhhhhh. No seriously do this in a well ventilated area or wear a respirator or both. The fumes are toxic and toxic stuff is bad. It was rock hard within an hour and then your suppose to sand it down smooth. But since it was getting late and work starts early in the morning I decided to leave it for another day.

Sunday, December 6, 2009

A Gear Slipped a Bolt Came Loose


I finally broke down this November (2009). After admiring my oh so impressive dust collecting Gundam model collection for the Nth time, and reading all the forums posts everywhere about ppl doing this thing called cosplaying at these events called Cons. A little gear slipped in my noggin which caused a catastrophic runaway of ideas and contemplating.

Fast Forward many weeks of researching Youtube videos ,plastic and foam manufacture catalogs, and looking up words such as "glomping", I decided I was going to do it. I was going to build a mecha suit. . . I wonder in the future when my naiviness has dissipated will I still have the sugar rush enthusiasm as i do now.

So which mech did i pick out? Well naturally it had to come from old school Universal Century Gundam Franchise. Obvious choice, I know. But looking at my model collection I noticed a pattern. I have very few Gundams, its mostly the cool looking, curvy and sleek amour, Zeons. So knowing very well that curvy objects are harder to draw, make, and calculate I did what any sane mecha fan would probably NOT do. Decide to make a MSN-04 Sazabi mobile suit! Yep, you heard right. The one piloted by none other, Char Aznable, in the epitome battle of Char's Counter Attack.